
Why You’ll Love This Chicken Stock
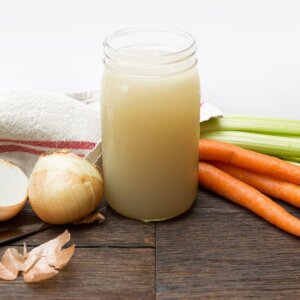
Whether you’re prepping for soup season or just roasted a whole chicken, this is the best way to get every ounce of nourishment out of your ingredients. And with just a few tips and a large stockpot, you’ll be on your way to your own freezer stash of golden, gut-healing broth.
I’ve been making this recipe for years, and it never gets old. It’s one of those quiet kitchen rituals — simmering away in the background while I go about my day. The flavor? Rich and savory. The aroma? Instant comfort. And the benefits? Huge.
Homemade stock is packed with nutrients like calcium, magnesium, and collagen — all extracted through a long, low simmer. It’s also my secret weapon during cold and flu season. This is real, nourishing food that supports the immune system and boosts flavor in just about everything.
If you’re looking for a place to use this stock, start with my homemade ramen noodle soup. You’ll taste the difference immediately.
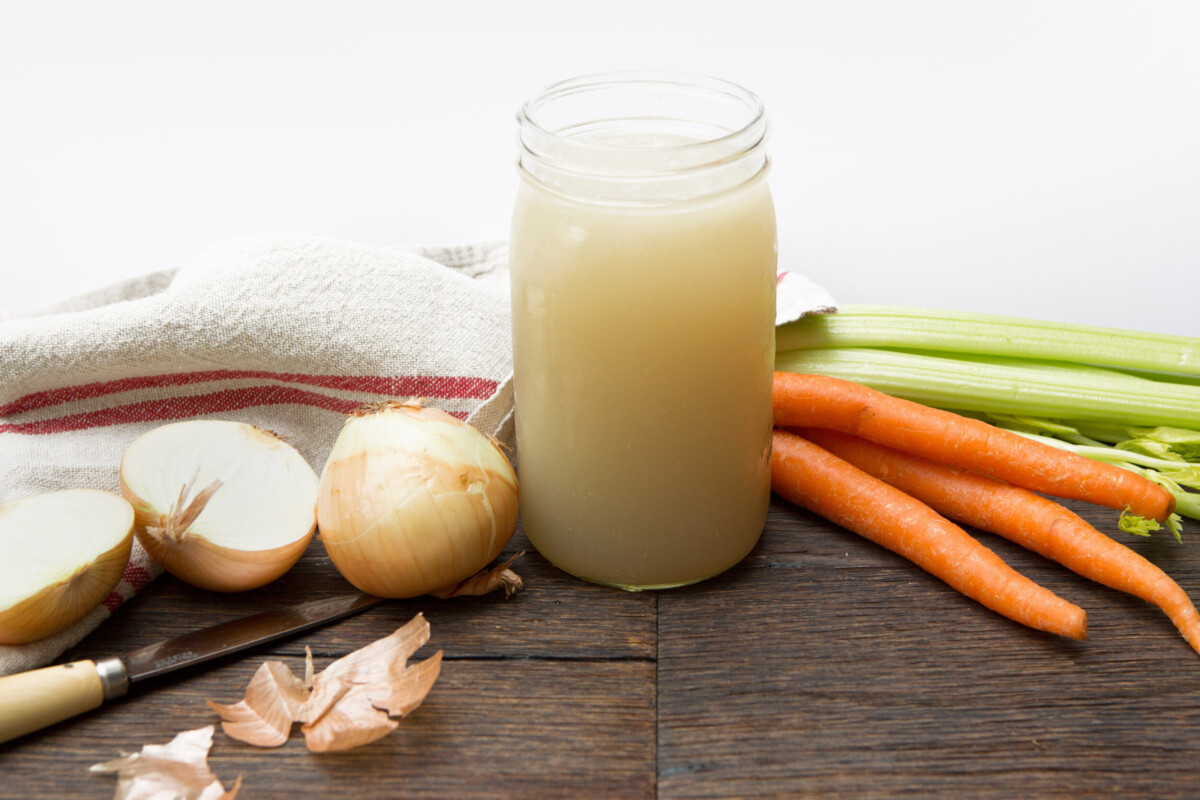
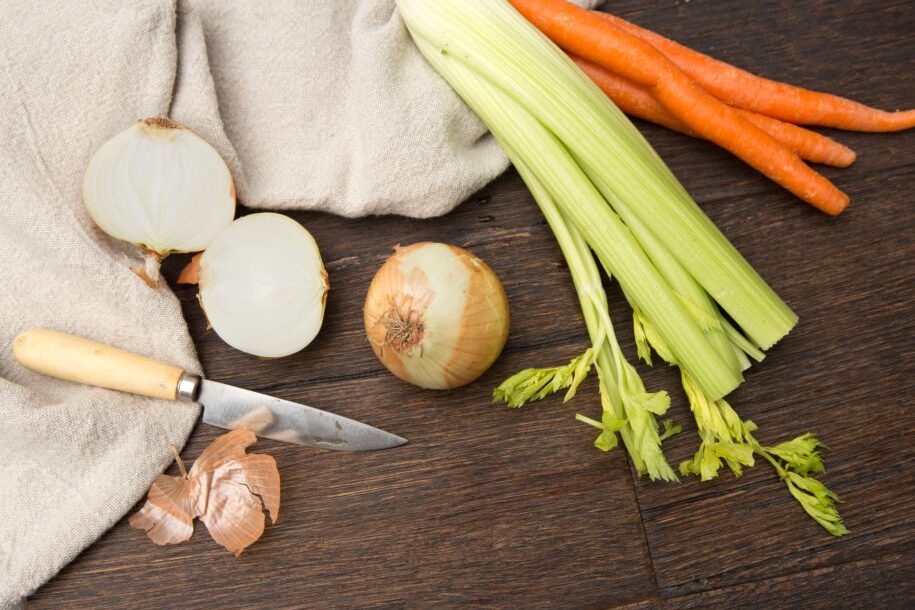
Ingredients You’ll Need
First off, this is a great recipe for making the most of what you have. That leftover chicken carcass from last night’s dinner? Use it! Raw chicken backs, wings, or even feet? Toss them in too. Add cold water, a splash of vinegar to draw out minerals, and let time do the work.
- Whole raw chicken or bony parts: Backs, necks, wings, and feet all work beautifully. A whole chicken gives you poached meat for other meals.
- Cold water: Always start with cold — it helps draw the most flavor from the bones.
- Apple cider vinegar: A small amount helps pull minerals from the bones into the broth.
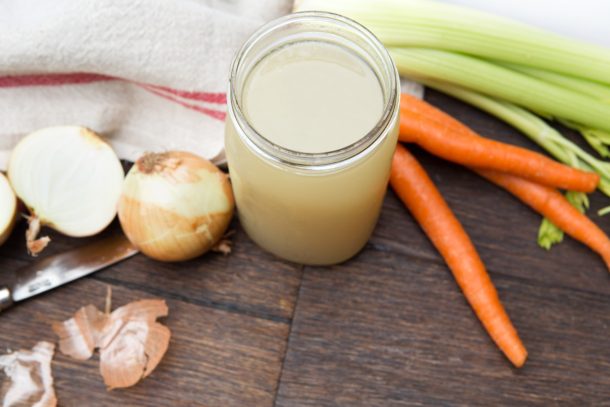
- Aromatics: Onion, carrots, celery — the classic trio for depth and balance.
- Fresh herbs: I usually use a few sprigs of parsley. Bay leaf and black peppercorns are great additions too.
- Sea salt: Enhances flavor and helps round out the broth.
- Optional additions: 1–2 bay leaves and a few whole black peppercorns add extra depth and aroma to the finished stock.
You’ll also need a large stockpot or slow cooker, a fine mesh strainer, and a large bowl for straining and cooling the finished stock.
How to Make This Chicken Stock
I usually make two pots at once so I can freeze jars for future meals. And fun fact: the first time I added chicken feet, I forgot to push them down and they floated to the top — definitely gave me a start!
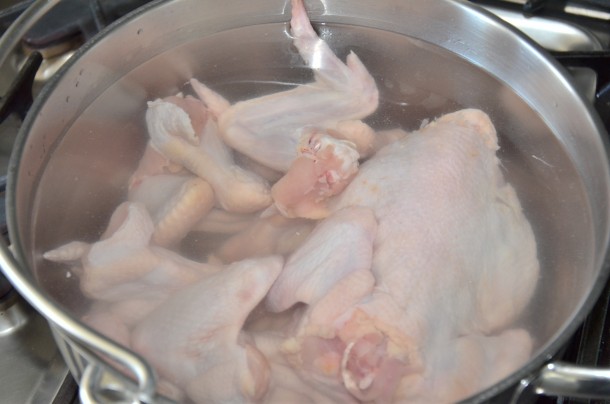
Step 1: Wash your chicken and remove any gizzards. Place the chicken or bones into a large stock pot. Add cold water and vinegar.
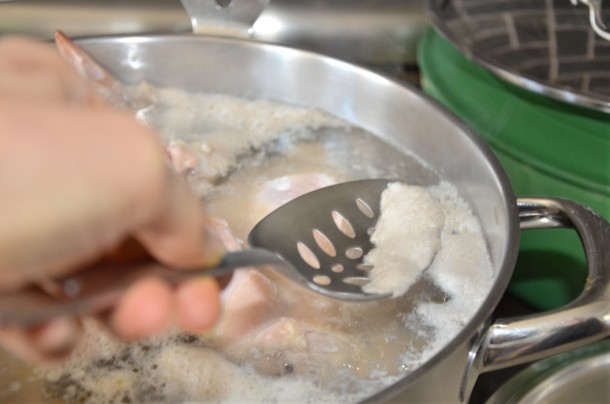
Step 2: Bring to a boil over high heat. As soon as it boils, reduce the heat to low and skim off any foam with a slotted spoon. Don’t skim the fat — that’s flavor.
Step 3: Add the onion, carrots, and celery. Keep the heat on low and let it simmer gently. You want tiny bubbles just breaking the surface — never a full boil.
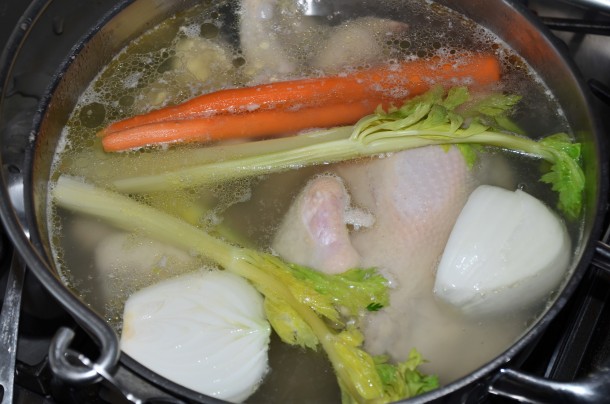
Step 4: Continue simmering uncovered for 4 to 5 hours (or up to 12 for deeper flavor). If your burner runs hot, partially cover the pot or shift it halfway off the burner. In the last 10 minutes, add sea salt and fresh parsley.
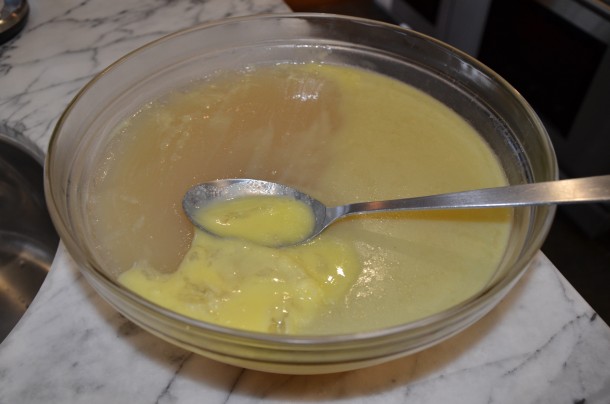
Step 5: Strain the stock into a large bowl using a fine-mesh strainer. Discard the solids. If you used a whole chicken, remove the meat from the bones for later use.
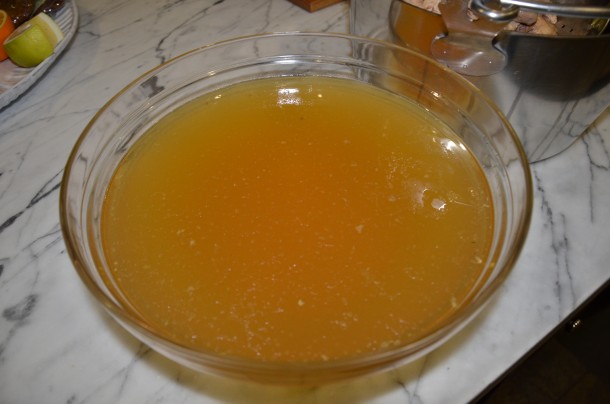
Step 6: Let the stock cool to room temperature, then transfer to containers. Refrigerate overnight. The next day, skim the congealed fat layer from the top and discard (or save it for sautéing veggies!).
Alternate method: You can also make this in a slow cooker. Add all ingredients, cover, and cook on low for 8–10 hours.

Storage + Freezing Tips
- Store in the fridge for up to 5 days.
- Freeze in glass jars, BPA-free containers, or silicone molds for up to 3 months.
- I like using BPA-free containers from letsgogreen.biz and Sistema containers, as well as repurposed glass quart-size jars from yogurt and Vegenaise. Just soak off the labels and wash thoroughly before filling with stock.
- Always let stock cool to room temperature before refrigerating or freezing.
- Label jars with the date and portion into 2- or 4-cup sizes to make reheating easy.
Pro Tip:
To make weeknight cooking easier, freeze your chicken stock in 2- or 4-cup portions — the amounts most recipes call for. Just leave a little space at the top to prevent cracking when the liquid expands!
Chicken Stock FAQs
Stock is made with bones and has a richer texture thanks to gelatin. Broth is usually made with meat and is lighter.
Yes! Add all ingredients, set to low, and let it cook for 8–10 hours. It’s a great hands-off method.
You may not have used enough bony parts (especially feet, wings, or necks). It may also have been diluted with too much water.
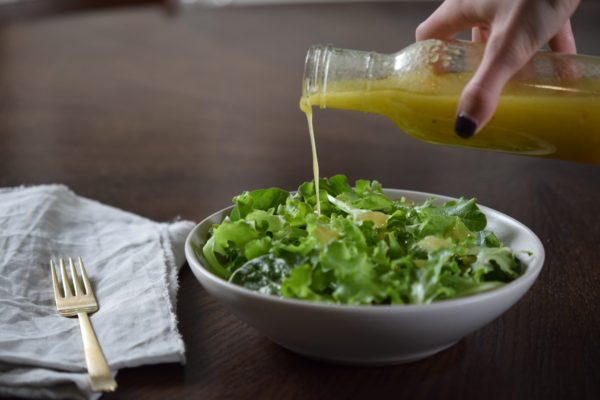
Use it for soup, tacos, chicken salad, or homemade chicken noodle soup.
Yes, once. The second batch will be weaker, but still great for cooking grains or adding to sauces.
If you’ve never made your own chicken stock before, this is your sign. It’s nourishing, budget-friendly, and honestly, one of my favorite things to have in the freezer. Once you start making your own stock, you’ll wonder how you ever settled for store-bought.
Let me know in the comments if you tried it — and don’t forget to check out my Simple Roast Chicken for your next batch of leftover bones.
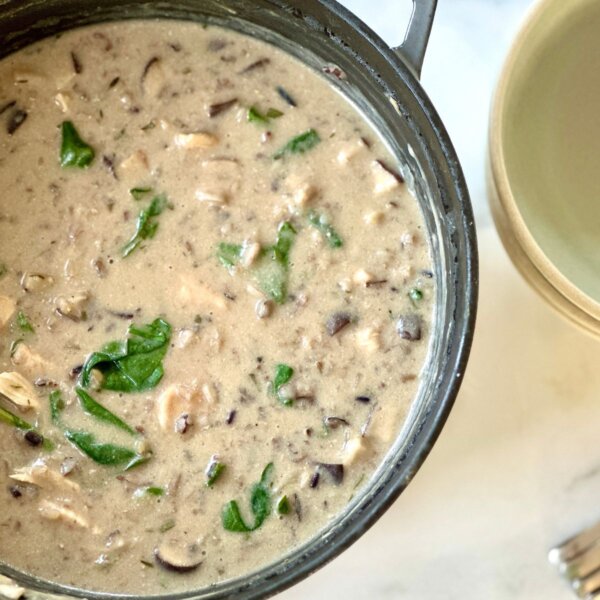
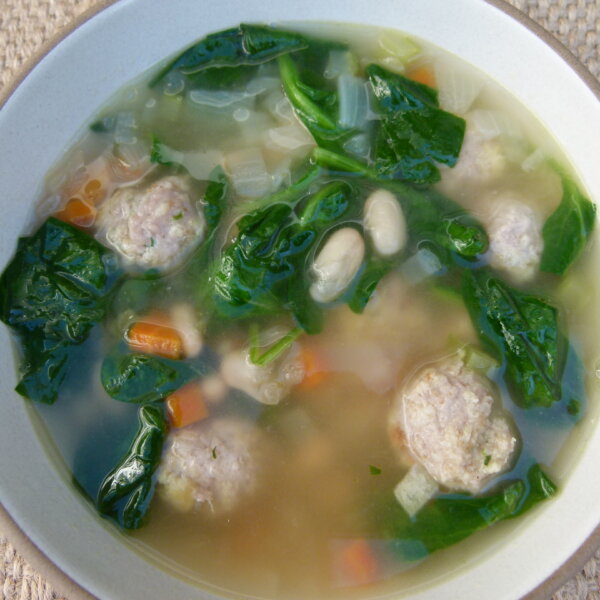
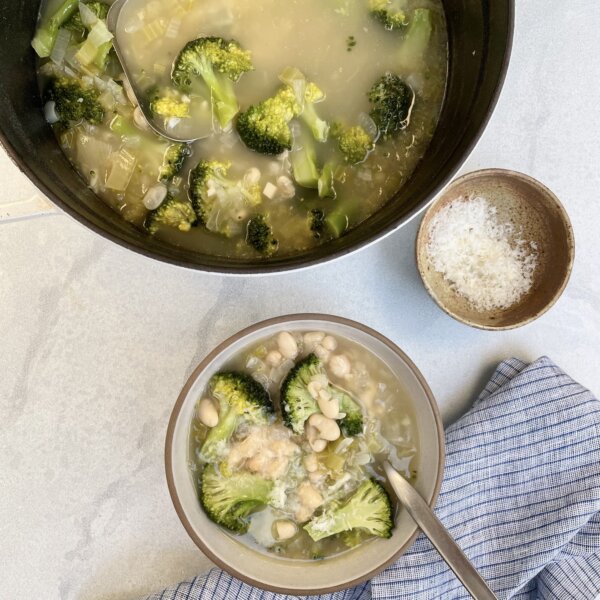
More Soup Recipes

If you give this recipe a try, snap a pic and tag @pamelasalzman so I can see your beautiful creations. I also really appreciate readers taking the time to leave a star rating and review! I have started a weekly Monday newsletter with tips, musings, new recipes not published here, fun new finds, and more. Subscribe for free here.
For more delicious recipes and to learn how to be a better cook, check out my monthly online cooking classes. I have been teaching people for 15 years how to cook healthy food that their families love! Join me!
The Only Chicken Stock Recipe You’ll Ever Need (From Scratch!)
Ingredients
- 1 whole free-range chicken , or 4 pounds of bony chicken parts, such as backs, necks and wings (if you can get chicken feet, use them!)
- 6 quarts cold water*
- 1 Tablespoon apple cider vinegar**
- 1 large onion, peeled and halved
- 2 carrots, peeled
- 2 celery stalks, cut if necessary
- fresh parsley, few sprigs
- 2 teaspoons sea salt
Instructions
- Wash the chicken and remove gizzards from the cavity. Place chicken and/or chicken parts in a large stainless steel stock pot. (You can cut the chicken into pieces if you need to in order to fit in the pot.) Add the cold water and vinegar. Put the temperature on high and bring to a boil.
- Immediately turn heat to low and skim with a slotted spoon any foam that rises to the surface. Try not to skim any of the fat or you will lose a bit of flavor. At this point, it is important to keep the stock to a bare simmer and NOT a boil.
- After skimming off all the foam, add all the vegetables except the parsley. Cook uncovered at the gentlest possible simmer for 4 to 5 hours. (I like to go as long as 12 hours). You want to see tiny bubbles just barely breaking the surface. If the heat from the burner does not go low enough, partially cover the pot or leave your stock pot half on the heat and half off.
- About 10 minutes before finishing the stock, add the sea salt and parsley (this will impart additional mineral ions to the broth).
- Strain the stock into a large glass bowl. Remove the chicken meat from the carcass, if using a whole chicken, and discard the remaining solids. Cool before refrigerating.
- Ladle through a fine mesh sieve into quart-sized containers or whatever size is most useful and refrigerate overnight. The next day, skim off the congealed fat at the top of each container. Refrigerate the stock for up to 5 days or freeze for up to 3 months. I have been using BPA-free containers from letsgogreen.biz as well as Sistema. I also reuse glass quart-size jars from yogurt and Vegenaise. Just soak the labels off and wash before adding your stock.
Notes
 Like this recipe? Rate & comment below!
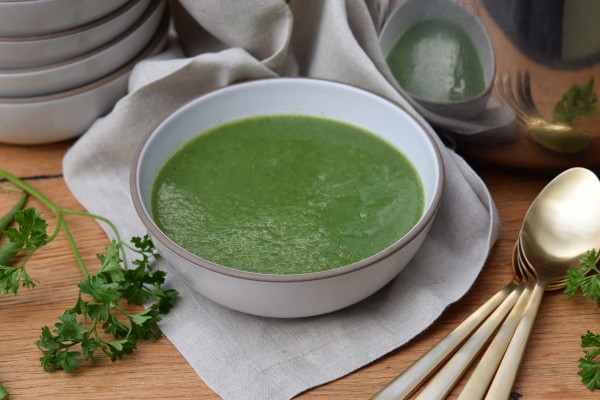


I am going to make this today as a base for basic chicken soup, thank you. I read a long time ago (I think on ATK) that a preferred method is to sauté the chicken pieces with the celery, onion, and carrot before starting the boil. Feels more involved though. Would the results be any different? I have always wondered this and appreciate your thoughts when you have a minute!
Sautéing (or roasting) the chicken and vegetables first will give you a deeper, more savory, slightly roasted flavor thanks to browning. Starting everything in cold water and gently simmering, on the other hand, creates a cleaner, lighter, more classic chicken soup broth, which is what I personally prefer when the broth is the star.
So yes, the results are different, but neither is better, just different. For everyday chicken soup, I don’t think the extra step is necessary. If you’re curious, it’s fun to try both and see which you love more!
super helpful, thank you for responding!
you’re very welcome!