
Why You’ll Love This Recipe
I love fall and apple desserts, and this cake is one of my favorites to enjoy, just like my grain-free apple tart tatin, apple cider pumpkin bundt cake, and apple granita.
The first time I made this cake, I didn’t expect to be wowed. But one bite of its melt-in-your-mouth texture convinced me, it’s a keeper! The apples bake into soft ribbons, giving the cake a custard-like feel, while a sprinkle of sugar on top adds just enough caramelized crunch. The day I shot this recipe, I couldn’t find my 9 x 5 loaf pan and had to use an 8.5 x 4.5 instead. A 10 x 5 would have been ideal, but the result was still delicious, proving this recipe is very forgiving.
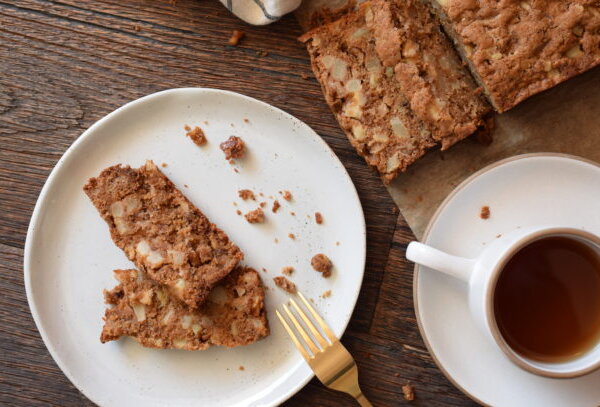
What makes invisible apple cake truly special is its versatility. You can serve it warm with whipped cream, cold from the fridge as an indulgent breakfast with matcha or coffee, or dressed up with powdered sugar for a dinner party. It looks like something from a French bakery but is approachable enough for everyday baking.
Ingredients You’ll Need
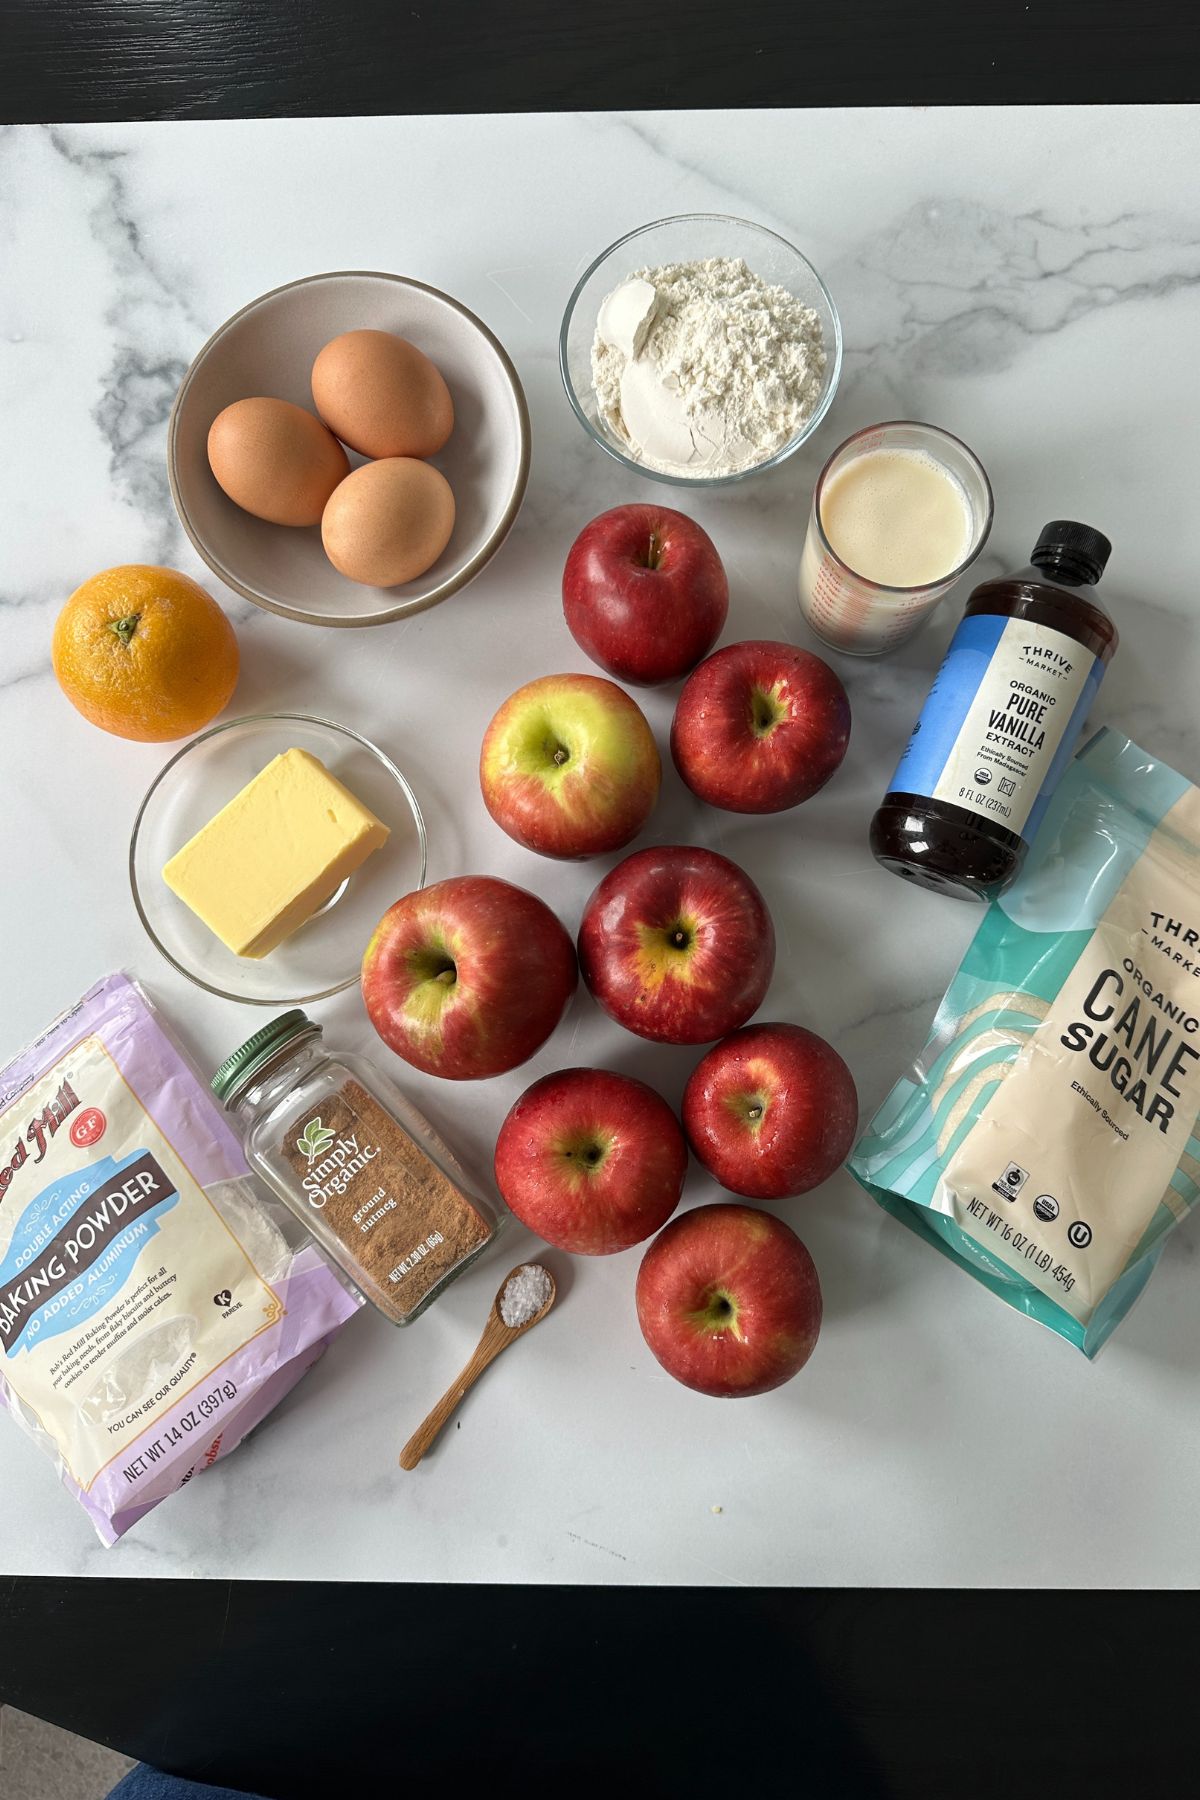
- Apples: Honeycrisp, Fuji, or Pink Lady work best for structure and flavor. The ultra-thin slices are what make the cake “invisible.” This technique is also reminiscent of apple sharlotka – another light apple dessert where fruit takes center stage.
- Butter and Milk: Provide richness and moisture. Plant-based versions like soy or oat milk and vegan butter work beautifully.
- Eggs: Create the custard-like structure. For a vegan option, fold in whipped aquafaba.
- Flour and Aluminum-Free Baking Powder: Keep the cake light while providing just enough structure.
- Sugar: Sweetens the batter and caramelizes on top for a golden finish.
- Orange Zest and Nutmeg: Add subtle warmth and complexity.
- Vanilla Bean Paste: Deepens flavor and complements the apples. Vanilla bean paste adds specks of real vanilla and a richer flavor, while vanilla extract is a simpler option if desired.
Substitution Notes: Use a gluten-free flour blend for a GF version. If you’d like a little extra texture, you can sprinkle sliced almonds on top before baking. Always take care with a mandoline. Just use a guard or cut-resistant glove for safety when slicing apples.
For another fruit-forward dessert, try my apple crumble cake!
How to Make Invisible Apple Cake
Step 1: Preheat oven to 375°F. Grease a 9 x 5-inch loaf pan (or 10 x 5 for more even baking) and line with parchment paper. Melt butter with milk and vanilla in a small saucepan. Set aside to cool slightly.
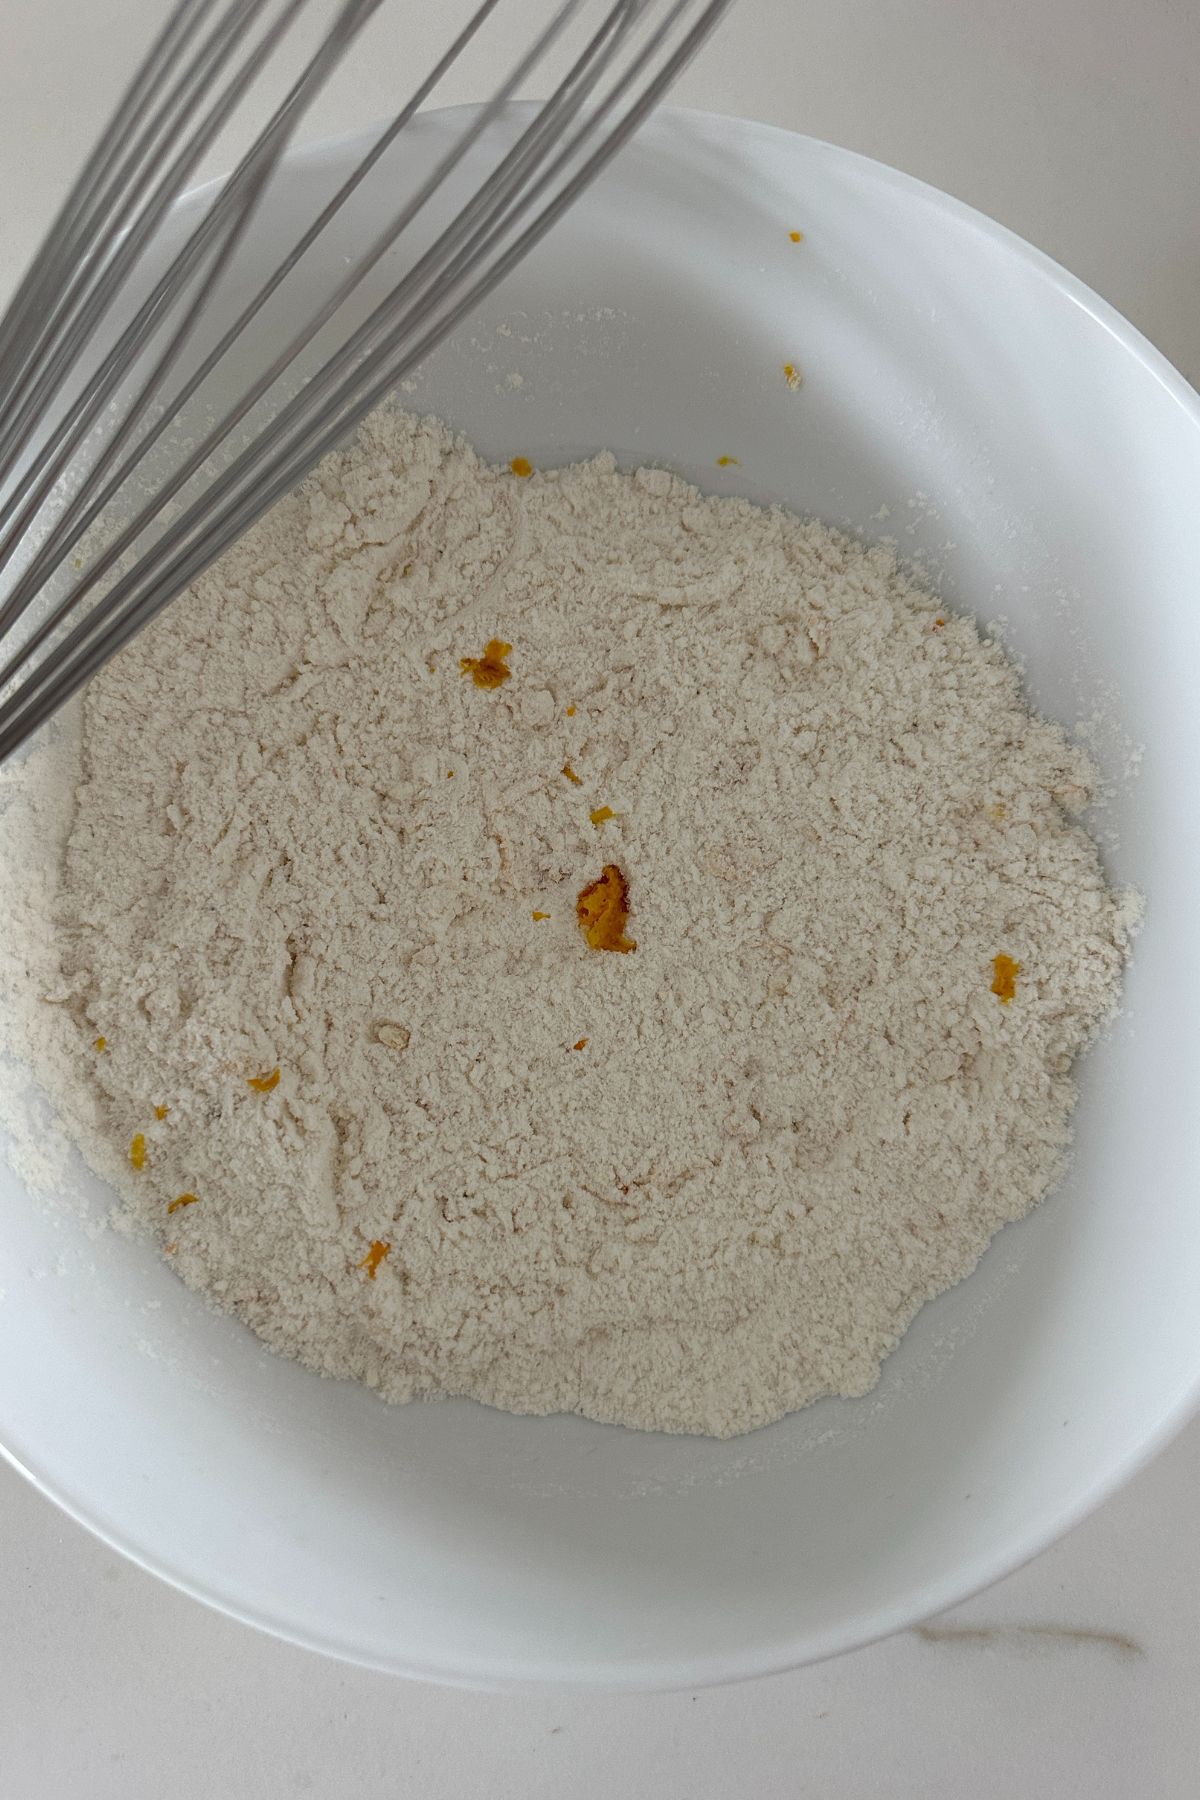
Step 2: In a bowl, whisk flour, baking powder, orange zest, salt, and nutmeg.

Step 3: Beat eggs and sugar on medium-high until pale and fluffy (1-2 minutes).
Step 4: Add half the dry ingredients, mix gently, then whisk in the milk mixture. Add the remaining dry mix until smooth.

Step 5: Peel, core, and thinly slice apples – about 1/16-inch thick. I like to use a mandoline for precision, but a sharp knife works too.
Step 6: Fold slices into the batter, coating as you go to prevent browning.

Step 7: Spoon the batter into the pan in layers, flattening the apples as you build. Sprinkle with sugar on top.
Step 8: Bake 60-70 minutes until golden. Check baking time and temperature closely, as ovens may vary.

Storage and Make-Ahead Tips
- This cake keeps beautifully, which makes it great for entertaining. Store in an airtight container at room temperature for up to 1 day, or refrigerate for 3 days. The flavor deepens overnight, and cold slices are equally delicious for breakfast.
- To make it vegan, swap in plant butter, soy or oat milk, and fold in aquafaba in place of eggs. For another easy apple cake recipe that’s plant-based, try my vegan apple spice snacking cake.

Recipe FAQs
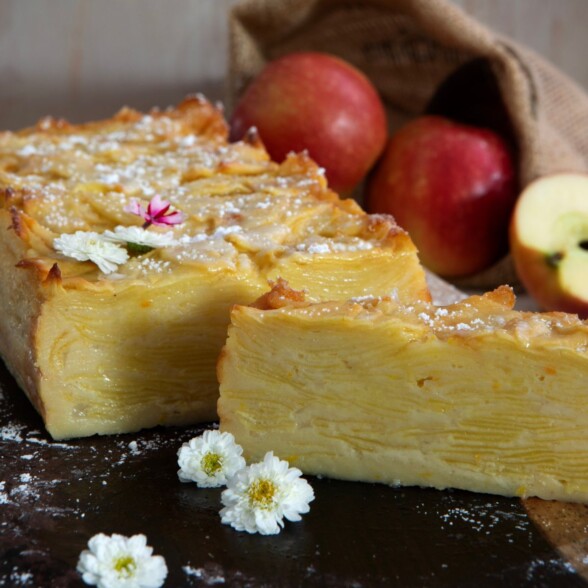
Invisible apple cake, or gâteau invisible aux pommes, gets its name because the paper-thin apple slices seem to disappear into the custardy batter as it bakes, leaving delicate layers in each slice.
Firm, slightly tart apples like Honeycrisp, Fuji, or Pink Lady give the best results. They hold their shape without turning mushy.
Yes, the cake can be baked a day ahead and stored in the fridge. It tastes great chilled or brought back to room temperature before serving.
A mandoline makes slicing fast and uniform, but it’s not required. A sharp knife works too, just aim for slices about 1/16-inch thick. Always use caution with mandoline safety.
Yes, sliced almonds or a dusting of powdered sugar add a simple finishing touch without overpowering the delicate apple layers.
This French invisible apple cake is a custardy, layered apple cake that feels both rustic and refined. It’s the kind of cake that wows at holidays, brunch, or dinner parties, yet is simple enough to bake on a weekend.
More Seasonal Fruit Desserts to Try
If you give this recipe a try, snap a pic and tag @pamelasalzman so I can see your beautiful creations. I also really appreciate readers taking the time to leave a star rating and review! I have started a weekly Monday newsletter with tips, musings, new recipes not published here, fun new finds, and more. Subscribe for free here.
For more delicious recipes and to learn how to be a better cook, check out my monthly online cooking classes. I have been teaching people for 15 years how to cook healthy food that their families love! Join me!
Invisible Apple Cake (Gâteau Invisible aux Pommes)

Ingredients
- ⅓ cup butter or plant butter, plus more for greasing
- ½ cup whole milk or unsweetened soy milk or a rich plant milk like oat milk
- 2 teaspoons vanilla bean paste or 1 teaspoon vanilla extract
- ¾ cup all-purpose flour or GF flour blend
- 1 ½ teaspoon aluminum-free baking powder
- 1 zest of small orange
- ½ teaspoon sea salt
- pinch ground nutmeg
- 3 large eggs, room temperature
- ½ cup cane sugar, plus 1 Tablespoon for the top
- 4 medium apples, Honeycrisp, Fuji or Pink Lady – I used 2 ¾ pounds of apples
- Optional for serving: Powdered sugar and/or whipped cream
Instructions
- Preheat oven to 375°F and grease a 9 x 5-inch loaf pan or a 10 x 5. Line with unbleached parchment paper for easier removal.
- Melt butter on the stove in a small saucepan over low heat with the milk and vanilla bean paste. Once the butter has melted, set the mixture aside off the heat to cool slightly.
- In a medium bowl, whisk together the flour, baking powder, orange zest, salt and nutmeg. Set the mixture aside.
- Using the bowl of a stand mixer, use the whisk attachment to beat ½ cup sugar and eggs together for about 1-2 minutes on medium-high speed (alternatively, you can use a large bowl with a hand mixer) until pale and fluffy. Scrape down the sides of the bowl as needed.
- Add half of the dry ingredients to the bowl and whisk on low speed until just incorporated. Whisk in the milk mixture slowly. Add the remaining dry ingredients. Mix on low speed until the batter is smooth.
- Peel, core and quarter the apples. You can slice them thinly using a mandolin or a very sharp knife (you are aiming for approximately 1/16-inch thick). Fold the apple slices into the batter gently until evenly coated using a rubber spatula. It is helpful to slice and coat one apple at a time to prevent the apples from oxidizing (browning).
- Carefully ladle a cupful of batter using a large spoon into the prepared pan. Flatten out the apple slices after each cupful. Repeat until all the apple slices are added. You can arrange the top layer of apples in a more decorative way, if desired, but don’t overthink it. Once completed, tap the pan to remove air. Sprinkle 1 Tablespoon of granulated sugar on top.
- Bake for 60-70 minutes until golden.
- Allow cake to cool in the pan on top of a wire rack for 1 hour.
- Run a knife along the sides of the pan and remove the cake onto the wire rack. Allow to cool for an additional hour.
- Optional: Dust the cake with powdered sugar or serve with whipped cream. Cut with a serrated knife for best results. Serve room temp or cold.
Notes
- The cake can be stored for 1 day at room temp in an airtight container or in the fridge for up to 3 days.
- Make it vegan: Use plant butter and soy milk or oat milk. Swap in ¾ cup whipped aquafaba for the eggs and fold into the batter.
 Like this recipe? Rate & comment below!


Sorry, more complicated than i need at this time.
Amazing cake. The instructions are written very well. This is definitely a do over.
Amazing cake. The instructions are written very well. This is definitely a do over.
so glad you loved it! It’s a very special cake 🙂
So I have used apples several times!
Today I swapped for pears.
I discovered I didn’t have enough vanilla extract so used have almond extract.
The batter tasted divine. Topped with some chopped pecans because I had them. We shall see. Your recipe is a keeper!
love this so much – pears, almond extract, and pecans sound like a dreamy combination. That’s exactly how this cake is meant to be used: flexible, forgiving, and fun to play with. Please report back, because I have a feeling this version is going to be amazing!
Absolutely perfect. (I used cinnamon becsuee I don’t care for nutmeg, but otherwise followed the instructions precisely.)
After 74 minutes, this beauty was exactly 190 F in the center. I had to distract myself for two hours to allow it to cool properly!
The apples are tender and with the sugar, provide the right amount of sweetness. It slices beautifully and happens to be delicious as dessert, as a snack, and as a light breakfast with morning coffee.
Thanks for your comment and I agree – such a perfectly balanced cake in terms of flavor. So delicate and satisfying.
Well, as my Australian friends would say, “Boy, I really stuffed this one up!” I used my food processor to slice the apples. Except, I used the shredder blade by mistake instead of the slicer. On beautiful apples I’d just bought at the farmer’s market. I forged ahead. When done, I put slices of apple on top. 50 minutes later, the batter had risen a bit… and what sat on top looked just like hash browns. I also baked in in my convection oven (habit) which dried out the apples on top. Butter to the rescue! Slicing this stringy thing without completely destroying it was a challenge. My dinner guests that night raved and said it was delicious. Creamy, and not too sweet. When I showed them the picture of how it was supposed to look, they all laughed. Next time I will pay closer attention!
That’s such a great story and thank you for sharing it! I love your perseverance (and sense of humor!). Honestly, the fact that your guests still raved about it says a lot about the recipe and about your skills in the kitchen! I’m sure it was delicious, even with the “hash brown” twist. Next time will be a breeze now that you’ve got the slicer blade ready to go.